How to Set Up Location Selections
Overview
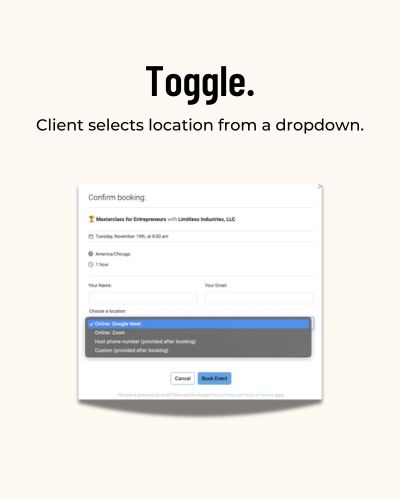
TidyCal allows users to add a dropdown menu of location options for their booking types. This feature gives clients the flexibility to choose their preferred meeting location, whether it’s online, in-person, or a custom option.
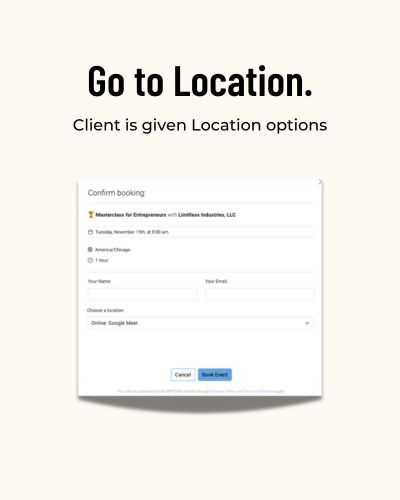
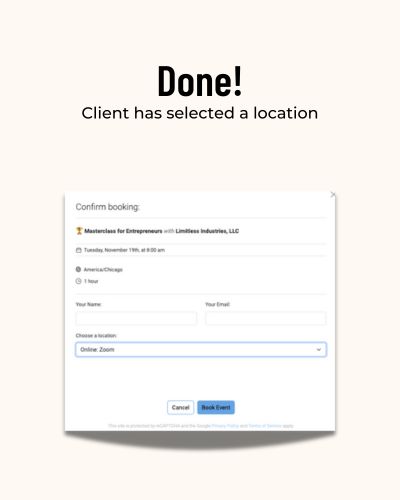
What Your Clients See: Selecting a Location
Help your clients choose the perfect meeting location with ease. Here’s how the location selection feature will appear to them during the booking process:


How to Set Up Location Selections
Providing location selections demonstrates your flexibility and ensures clients can choose the meeting option that works best for them—whether it’s online, in-person, or customized to their needs. Follow these steps to set up location options for your booking types:
-
Go to Booking Types, choose a booking type.
-
Click “Edit” in the lower-right corner of the selected booking type.
-
Click the button “View Advanced Booking Type Settings” to access the advanced configuration options.
-
Under “Locations,” select the first option you want to display to clients.
-
Add additional options by selecting them one by one to include all the desired locations.
- When satisfied, click “Update” to save the changes to your booking type.
Repeat these steps for any other booking types you’d like to customize with location selections.
By offering location selections, you show your clients that their convenience is your priority. Whether they prefer a virtual meeting, an in-person discussion, or a customized arrangement, TidyCal makes it easy for them to choose. Take advantage of this feature to create a seamless and professional booking experience tailored to your clients’ needs.
